
It's safe to say I'm pretty obsessed with today's project. I've teamed up with Angie from The Country Chic Cottage, my girl Carolina with 30 Minute Crafts, Jen with 100 Directions, and Jessica with Mad in Crafts to bring you a week filled with fun Cricut Iron On projects. They'll be posting projects every day this week and a bunch of us bloggers have joined in to post projects of our own so be sure to check them all out! AND my favorite brand, Cricut is going to giveaway an EasyPress, EasyPress Mat, and a selection of iron on products to one lucky winner! Keep reading to enter!
It's summertime and although I have no fun vacation plans in the foreseeable future (insert pouting face here) I still wanted to create something for those of you who ARE planning a getaway with your girls this summer with these fun Bachelorette Luggage Tags!
It's summertime and although I have no fun vacation plans in the foreseeable future (insert pouting face here) I still wanted to create something for those of you who ARE planning a getaway with your girls this summer with these fun Bachelorette Luggage Tags!

First, have you seen that my girl Jen over at Something Turquoise opened up a shop with the CUTEST digital files?? That's where I got today's adorable "I Do" and "I Do Crew" cut files.
Supplies
<Post Contains Affiliate Links>
Which means, if you buy any of the cool stuff I recommend, you still pay the same price, but I get a small commission. Everybody wins!
Fabric (Mine is from JoAnn)
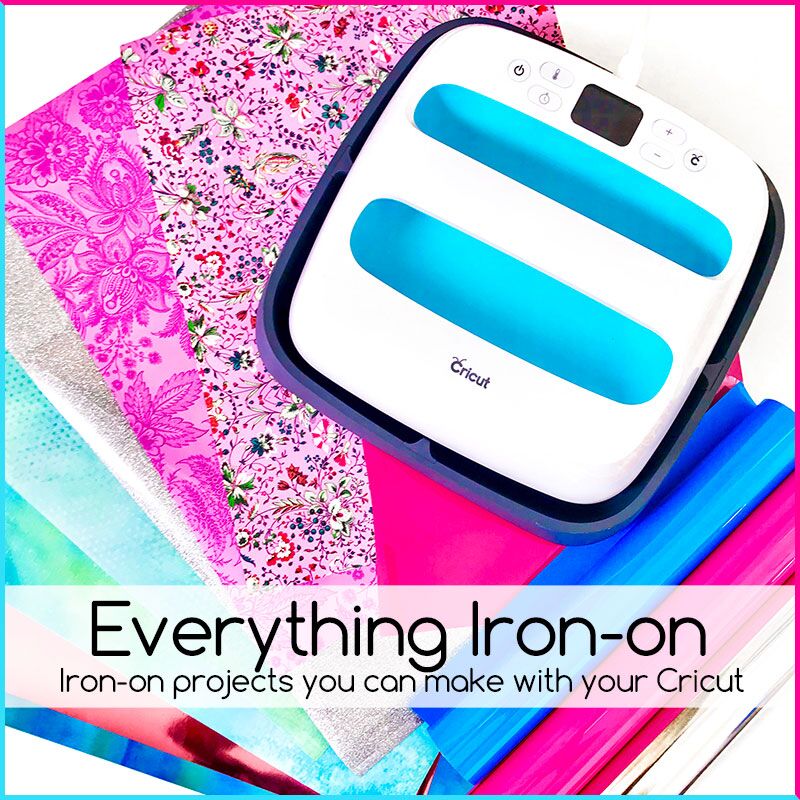
Iron On Vinyl (I used Raspberry)
Suede Cord (This one is a great variety and value)
Cricut EasyPress (Or your iron)

As I'm sure you've heard by now, the Cricut Maker is life changing for any fabric enthusiast, which I definitely consider myself to be. Heck, I buy fabric even with no project in mind, just because I love it (in fact, its how I ended up with the fabric I used for this project!).
To start this project, decide how many tags you will need, this will determine how much fabric you'll be needing. Be sure to cut two hexagons for each tag (one for the front and one for the back). Add heat n bond to the backside of your fabric in the size you will need to cut the right amount of hexagons, then apply it to your cutting mat.

The new Cricut brayer has quickly become one of my favorite tools. It ensures that you have a good stick to your mat.

I believe I set my machine to "cotton, bonded" with extra pressure to cut my fabric. Your machine really does all the work for you!

See! Great cuts every time!

Remove the backing from the Heat N Bond, place two pieces wrong sides together and press.

Then using your Crop-a-dile, create your eyelet hole.

Trying to stay close to the edge, and away from your eyelet hole, sew around the outside. I decided to use a bright pink thread for a fun contrast. This is really just a fun decorative detail since the heat n bond should keep the fabric together.

Then, you can add your eyelet.
**I actually did this project two ways. First I did it by adding the eyelet after the iron on and second I did it before. Both ways work but I think it's actually easier to put it in after, so you don't have to worry about touching it when you're ironing.**

Cut your iron on vinyl. I've seriously been obsessed with this Raspberry color lately. I've been putting it on everything!

Find where you'd like to place your iron on vinyl and press in place using your EasyPress or your home iron. If you have already set your eyelet, be sure to steer clear of it while pressing. I thought it would be fun to add names to the other side of the tags so that they wouldn't get mixed up. I of course used my go to font these days, Better Together.

Then add your suede. It's kind of personal preference, but I prefer to loop it by going in from the side that I want to be the front, I think it just has a cleaner look, but totally up to you!

And that's it! The most ADORABLE luggage tags perfect for your next bachelorette bash! And the best part is, they're totally customizable! You could use a fun buffalo plaid if you're going to the mountains or a coastal fabric if you're doing a beach getaway, or your kids favorite super hero if you want to add one to their backpack, it's totally up to you!

I can't wait to see what all the other bloggers create!
Definitely don't forget to pop over to the Something Turquoise shop to check out more of her adorable digital files, they're a crafters dream!
And, if you're looking to score some Cricut Iron On goodness of your own, enter the giveaway here!
a Rafflecopter giveaway

No comments:
Post a Comment