
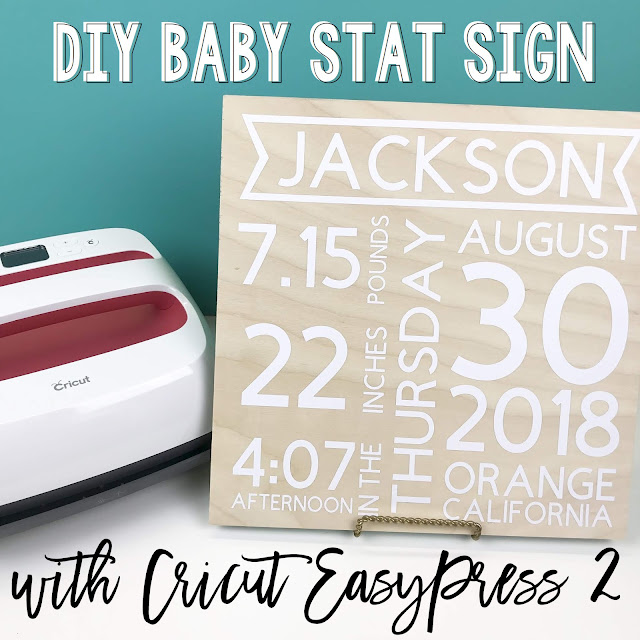
YOU GUYS!! Have you heard?? The new Cricut EasyPress 2 is here!!
About a year ago Cricut announced the brand new EasyPress and once I got my hands on one, I was immediately in love, it's so simple to use! And unlike a traditional iron, the EasyPress has a ceramic coated heat plate which means a dry even heat, which you really can't get with your traditional iron.
I really didn't think it could get much better and then... IT DID with the new EasyPress 2! Not only does the new EasyPress 2 come in 3 sizes (6x7, 9x9 and 12x10), it also now has an even faster heat up time and can go up to 400 degrees! It also comes in an awesome raspberry color and has a new USB port for firmware updates, so you'll always be up to date! How cool is that!
Lately my favorite thing to put Cricut Iron on on is my wood projects! I love the finished look it gives and I also love that I don't have to mess with any transfer tape! So today I wanted to show you just how simple creating your own custom Baby Stat Sign is using the EasyPress 2 and some Cricut Iron On!

Supplies
Post Contains Affiliate Links
If you buy the cool stuff I recommend, you still pay the same price, but I get a small commission. Everybody wins!Cricut Iron On (I used white)
Plywood (You can buy large pieces from your local hardware store and have them trim them down for you! Thats what I did and for this project I used a 12x12 piece.)

Plywood (You can buy large pieces from your local hardware store and have them trim them down for you! Thats what I did and for this project I used a 12x12 piece.)

As always, I started by designing the file in Cricut Design Space. Did you know the Design Space software is available for iOS, Android, Windows, AND Mac?! You really can use it anywhere! Especially with the machines bluetooth wireless technology!
One of my sorority sisters just had her baby so, using all of his birth stats I created a totally custom announcement sign for her!
 When I design, I like to put a mock-up of the item I'll be applying to on my canvas so I can get a good visual. That's what the light brown square is. It's totally just for a visual though. I turn it off before I hit "Make It". Once you're happy with the way everything looks, select it all and attach it, this will make sure it all cuts exactly where you've placed it. Then... click that magic green "Make It" button.

 Weed your design, which is removing all of the negative space. I love using my BrightPad for this.
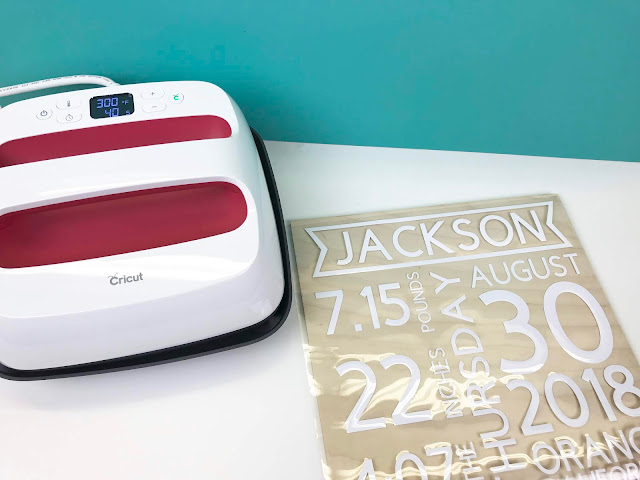 Then place your design on your iron on surface (the plywood). This is a good time to make sure everything is weeded properly, you have no spelling errors and everything is lined up just the way you want it because once you iron it on, there's no going back, especially with the new Cricut StrongBond Guarantee! Cricut really prides themselves on having the best-in-class iron on materials, so much so that they are now offering a StrongBond Guarantee which means that when a StrongBond materiel is used as directed, you'll be completely satisfied with the results. If not, they'll replace it for free! Because we are using the material on wood, it doesn't really apply since we won't be washing it, but a great thing to know!
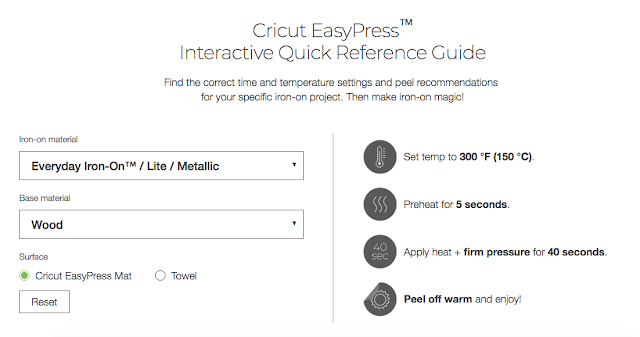
To figure out how hot and how long to use your EasyPress 2, check out the new Interactive Quick Reference Guide. It has a couple simple drop down menus and then tells you exactly what to do! It's awesome!
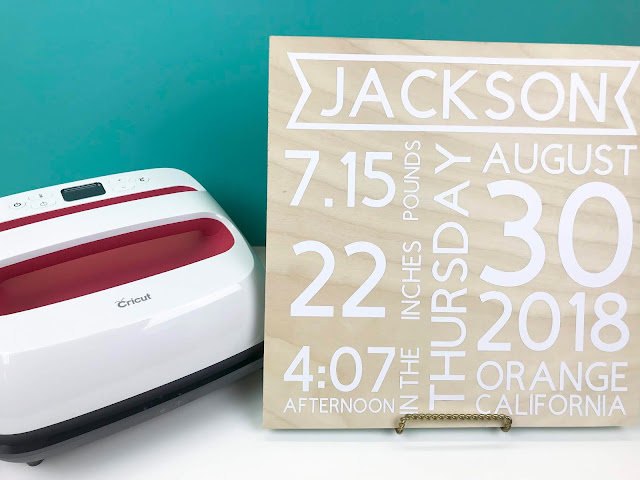 And just like that, a totally custom baby stat sign! You can make one for your kiddos or as a super sweet gift for a friends new bundle of joy. Using iron on for wood makes this project a breeze. If you were to use traditional vinyl, you may have some trouble with the transfer tape and getting it to stick just right but using the EasyPress 2 and Iron On vinyl makes it so simple!
One of my sorority sisters just had her baby so, using all of his birth stats I created a totally custom announcement sign for her!


Don't forget to "mirror" your image before cutting and select "Iron on" to be sure to get that perfect kiss cut!


To figure out how hot and how long to use your EasyPress 2, check out the new Interactive Quick Reference Guide. It has a couple simple drop down menus and then tells you exactly what to do! It's awesome!

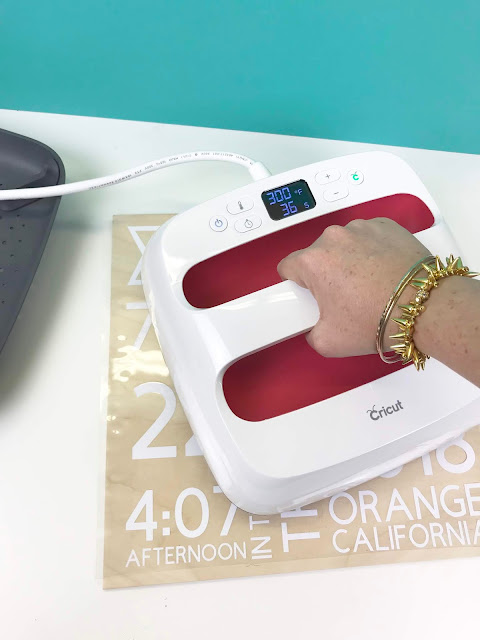
So for this project, I set my EasyPress temp to 300 and my timer to 40 seconds. The Interactive Quick Reference Guide takes out all the guess work!

Be sure to apply even pressure and heat to the entire project.

To make your own Baby Announcement Sign click HERE
(To customize, simply detach and change the info! It's that simple!)

1 comment:
I really like and appreciate your work. The points you have mentioned in this article are useful. Got the fab post that is nice to read and I am so delighted to have this wonderful arti
Post a Comment