If you're a Cricut fan, I'm sure you've seen the exciting news that they have a new product that they've added to the EasyPress family, the EasyPress Mini! It's so stinkin' cute! I thought the 6" x 7" size was cute but the Mini is even smaller and more adorable! (Why are small things so cute?) It's the perfect companion to the ever growing family of EasyPress machines.
When I first saw it, my mind started racing with ideas of ways to use it, (the first of which I'm sharing with you today).
The new mini is perfect for small and unique projects that previous EasyPresses maybe couldn't accomplish (or that might have just been a little more challenging) like hats, shoes, shirt sleeves, cuffs and even stuffed animals! Like the EasyPress 2, the Mini offers an even heat plate (unlike a traditional iron that can vary in temperature by 200 degrees, crazy right?) and easy to use heat settings for effortless heat transfers.
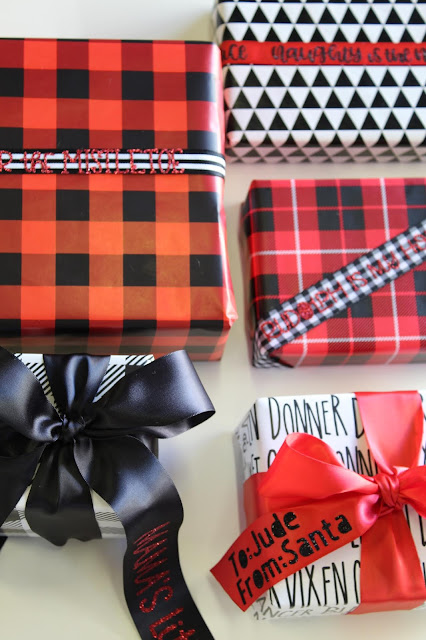
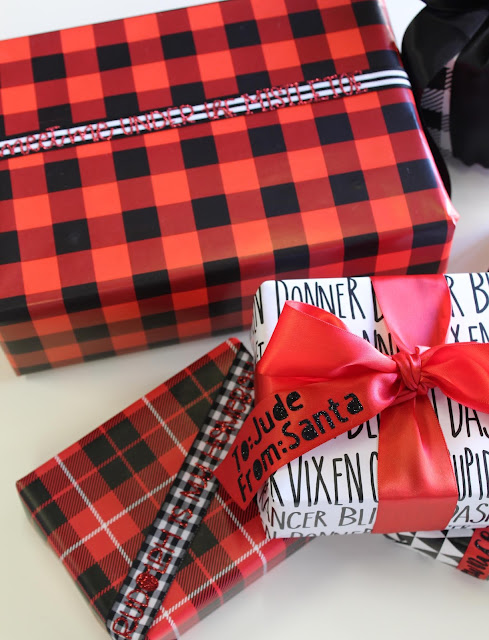
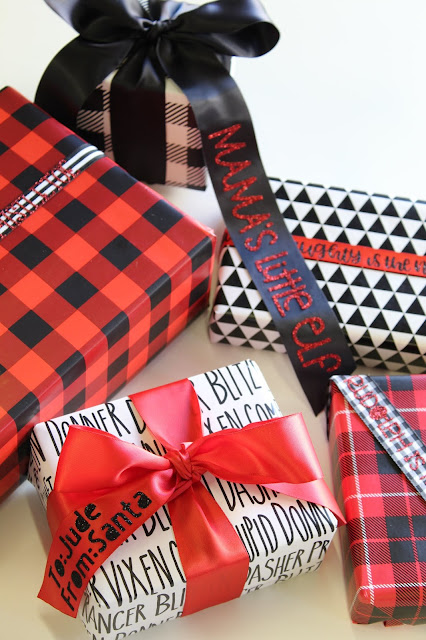
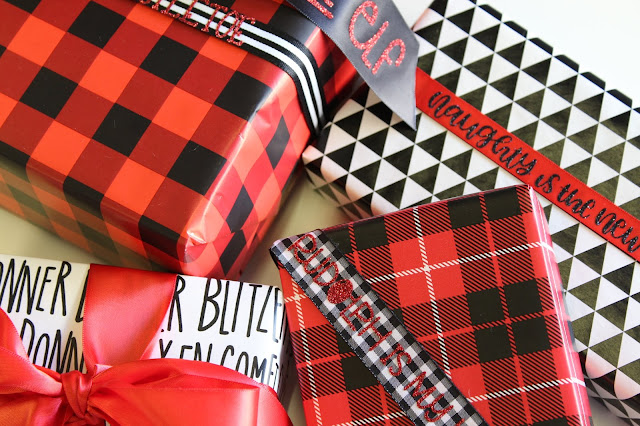
If you've known me for any amount of time, you know that I love giving gifts and a huge part of it is that I LOVE wrapping gifts. I think because my love language is receiving gifts, it's also my way of showing my love. The adorable new EasyPress Mini is perfect for personalizing your ribbon for gifts!
This is a sponsored conversation written by me on behalf of Cricut. The opinions and text are all mine.
Post may contain affiliate links. This means if you buy the cool stuff I recommend, you still pay the same price, but I get a small commission. Everybody wins!
This is a sponsored conversation written by me on behalf of Cricut. The opinions and text are all mine.
Post may contain affiliate links. This means if you buy the cool stuff I recommend, you still pay the same price, but I get a small commission. Everybody wins!
It's a super fun way to add that little personal touch to your gifts. Not only can you add a fun sentiment, you can also use this technique in place of a gift tag as well! I've never been a fan of traditional gift tags, especially holiday ones because they usually clash with my wrapping paper and as a (self proclaimed) gift wrap aficionado, that just won't fly for me. (It's also a great way to add that "special" touch to gifts that come from the North Pole if you know what I mean ;) )
Supplies
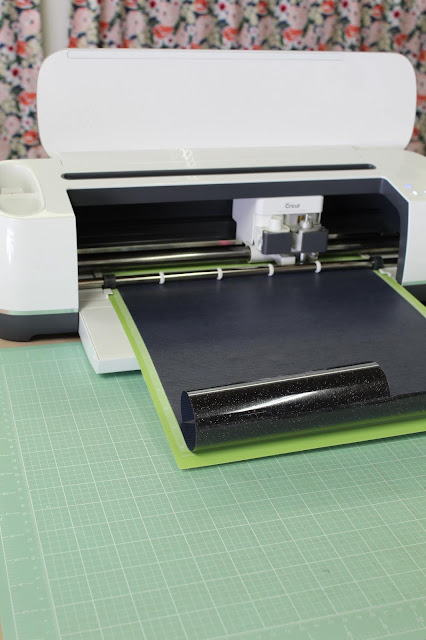
- Cricut Maker (or Explore)
- Cricut StandardGrip Cutting Mat
- Cricut EasyPress Mini
- Cricut EasyPress Mat (not Pictured)
- Cricut Iron On (I used Red Glitter and Black Glitter)
- Cricut BrightPad (optional)
- Cricut Weeding Tool
- Ribbon (All my ribbon was from Michael's)
Start by designing your file in Cricut's Design Space. Measure the height of your ribbon and make sure that your design fits before cutting. If you'd like to use any of my designs, HERE is my Design Space file.
Once you are ready to cut, lay your iron on material shiny side down on your mat. I find it easiest to roll it on. Select the correct material (or if you're using an Explore machine, set your dial) and don't forget to mirror your project before cutting!
Then let your machine do it's thang.
Weed (or remove the negative space from) your design. I cut most of the designs several times so that I could have the sayings repeat on the ribbon but that's totally up to you. I also like the look of it just being on the tails too.
Using your weeding tool, remove all the little insides of the letters. Not gunna lie, this was a little time consuming, and I maaaaay have lost some (or all) of the dots for the i's, but the final result was just as cute, so it's all good.
Now time for the fun part!
The new EasyPress Mini is a little different from previous EasyPresses. It only has three settings and no timer so you'll want to check the Cricut Heat Guide to find out what setting to use for your project. It takes all of the guess work out of it! Because I was using glitter iron-on on a polyester ribbon, I used the medium heat setting on the EasyPress Mini for 25 seconds. It also told me to use constant movement and light pressure.
The design is so ergonomic, it feels great in your hand!
The heat guide recommended a warm peel, so, while the project was still warm, I removed the carrier sheet and the results were perfect!
I had so much fun creating all these ribbons and can't wait to use this technique on all of my future gift giving!
I'm so excited to add the new EasyPress Mini to my crafting arsenal. I can't wait to keep testing the limits of this mini but mighty little guy! Let me know if you have any questions or any ideas for new ways I can use it!












No comments:
Post a Comment