
*This post contains affiliate links*


If you're familiar with Cricut, you are also familiar with Cricut Iron On. While using a tradition iron works for these projects, it doesn't always give the best results. While I was at the make-a-thon I found out that it's because with a traditional iron the temperature can actually vary by two HUNDRED degrees.

Can you believe that?!
You can see that the new EasyPress has a consistent temperature within 10-20 degrees. On top of that, it is also a 9 inch by 9 inch square, meaning it covers more area at once. Not only can you set the temperature, you can also set a timer on it to heat the exact amount of time you need!
Cricut provides a handy reference chart to determine correct time and temperature settings for your project, then just apply gentle pressure, and when the beep sounds, you’re done! With adjustable heat up to 350℉ (180 C), it’s ideal for foil, glitter and metallic projects as well as large and layered projects. Helpful safety features include an insulated resting base and auto-shutoff feature (which is perfect for people like me who leave everything from curling irons to glue guns on). EasyPress is lightweight, portable, easy to store, and compatible with major brands of heat-transfer material. And of course, it’s a perfect complement to Cricut cutting machines!
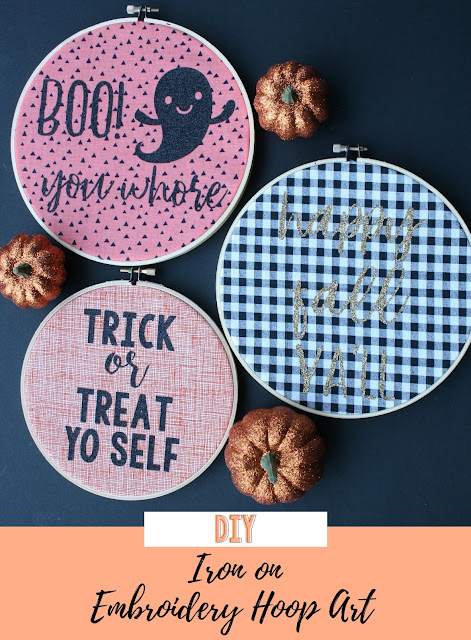
Today I'm going to show you a super easy way to create a totally custom iron on embroidery hoop project using my EasyPress!


 Then weed your vinyl. The BrightPad makes weeding so much easier.


 And just like that you have a super easy (and totally custom) embroidery hoop project! You could make with with birth stats for a nursery or with an empowering quote for above your workspace! The possibilities are endless! If you create your own I'd LOVE to see it!
Today I'm going to show you a super easy way to create a totally custom iron on embroidery hoop project using my EasyPress!
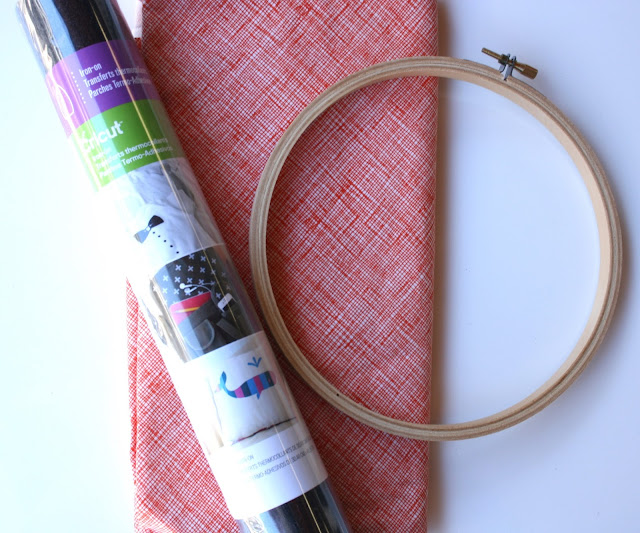
Supplies
- Cricut Glitter Iron On (I used both black and gold for this project)
- Fabric
- Embroidery Hoop (I used both 7 inch and 8 inch hoops)
- Cricut Maker
- Cricut BrightPad
- Cricut EasyPress
- Weeding Tool

I started by designing my file in Cricut Design Space.

Then I cut both my iron on and my fabric using my Cricut Maker. If you don't have a Maker you can totally cut your fabric by hand just be sure it's large enough to fit your embroidery hoop. If you are using your Maker, I found that cutting a circle an inch larger than your hoop is perfect. (So for my 7 inch hoop I cut an 8 inch circle and for my 8 inch hoop I cut a 9 inch circle.)


Using Cricut's quick reference guide that came with my EasyPress, I set the temperature and time that I needed for my project.

And voila! Great results every time!


This is a sponsored conversation written by me on behalf of Cricut. The opinions and text are all mine.
1 comment:
Well written text, great content, hopefully many such posts. Thanks for this post!
Accommodation and vacation rentals worldwide
Post a Comment