Wednesday, October 25, 2017

DIY Iron On Embroidery Hoop Art with Cricut EasyPress!

*This post contains affiliate links*
Create fun and easy DIY embroidery hoop art with Cricut EasyPress!
I'm so excited about today's post! This summer I had the extreme pleasure of being invited to attend the Cricut Mountain Make-a-thon where Cricut announced several new products, the BrightPad, the new Maker machine and what I'm going to be talking about today... the new EasyPress! 

The new Cricut EasyPress makes iron on projects a breeze!
If you're familiar with Cricut, you are also familiar with Cricut Iron On. While using a tradition iron works for these projects, it doesn't always give the best results. While I was at the make-a-thon I found out that it's because with a traditional iron the temperature can actually vary by two HUNDRED degrees. 
The new Cricut EasyPress gives you a much better result than a traditional iron.
Can you believe that?!
You can see that the new EasyPress has a consistent temperature within 10-20 degrees. On top of that, it is also a 9 inch by 9 inch square, meaning it covers more area at once. Not only can you set the temperature, you can also set a timer on it to heat the exact amount of time you need!
Cricut provides a handy reference chart to determine correct time and temperature settings for your project, then just apply gentle pressure, and when the beep sounds, you’re done! With adjustable heat up to 350℉ (180 C), it’s ideal for foil, glitter and metallic projects as well as large and layered projects. Helpful safety features include an insulated resting base and auto-shutoff feature (which is perfect for people like me who leave everything from curling irons to glue guns on). EasyPress is lightweight, portable, easy to store, and compatible with major brands of heat-transfer material. And of course, it’s a perfect complement to Cricut cutting machines!

Today I'm going to show you a super easy way to create a totally custom iron on embroidery hoop project using my EasyPress!

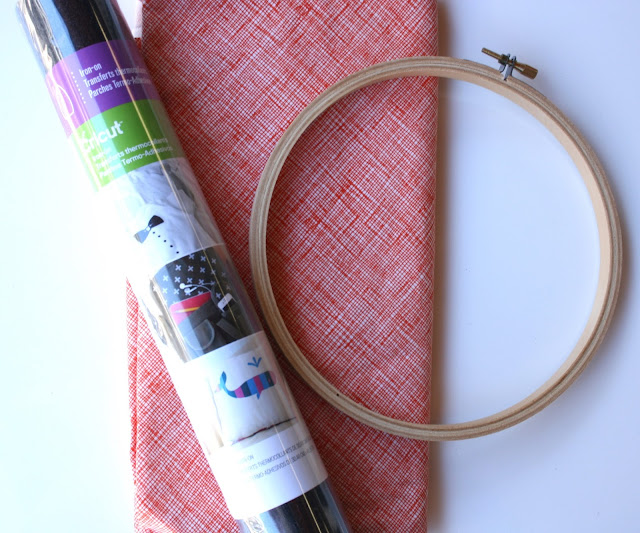
Supplies

Create fun and easy DIY embroidery hoop art with Cricut EasyPress!
I started by designing my file in Cricut Design Space
Create fun and easy DIY embroidery hoop art with Cricut EasyPress!

Then I cut both my iron on and my fabric using my Cricut Maker. If you don't have a Maker you can totally cut your fabric by hand just be sure it's large enough to fit your embroidery hoop. If you are using your Maker, I found that cutting a circle an inch larger than your hoop is perfect. (So for my 7 inch hoop I cut an 8 inch circle and for my 8 inch hoop I cut a 9 inch circle.)
Create fun and easy DIY embroidery hoop art with Cricut Maker and Cricut EasyPress!
 Then weed your vinyl. The BrightPad makes weeding so much easier.
Using Cricut BrightPad makes weeding a breeze!
Using Cricut's quick reference guide that came with my EasyPress, I set the temperature and time that I needed for my project. 
Create fun and easy DIY embroidery hoop art with Cricut EasyPress!
And voila! Great results every time! 
Create fun and easy DIY embroidery hoop art with Cricut EasyPress!
Create fun and easy DIY embroidery hoop art with Cricut EasyPress!     
Create fun and easy DIY embroidery hoop art with Cricut EasyPress!
And just like that you have a super easy (and totally custom) embroidery hoop project! You could make with with birth stats for a nursery or with an empowering quote for above your workspace! The possibilities are endless! If you create your own I'd LOVE to see it!
This is a sponsored conversation written by me on behalf of Cricut. The opinions and text are all mine.

Wednesday, October 11, 2017

Mother's Day Floral Arranging Workshop Recap

Several months ago, I hosted a Mother's Day Floral Arranging workshop with my friend and florist extraordinaire LeeLina Martin. In case you missed her Meet the Maker feature, I first met LeeLina when I was looking for a florist for my wedding. I don't know how common it is to stay in touch with your vendors after your wedding but we are well over two and a half years out at this point and I feel lucky I've gotten the opportunity to call her a friend. 

For months (if not years) I've been yearning to host crafting workshops. I have found little ways here and there, whether it's getting my girlfriends together to show them how to make Christmas stockings, or using my birthday as an excuse to make dream catchers. It has recently gained some popularity but most of the workshops I've seen are well out of my price range. I wanted to create something that was not only educational, but also affordable. When I racked my brain for what would be the perfect first workshop, LeeLina of course came to mind. I pitched the idea to her, and she loved it! We decided that with Mother's Day around the corner, that would be a great time to do it. So, with my idea in motion, it was time to find a venue. There is this local adorable party supply store called Wild Child Party & Supply. They have a great little space adjacent to their shop for events. I went out on a limb and called to see if it happened to be available the day before Mother's Day, and it was! We had a venue! Now all we needed was to fill the seats!
Check out this fun Mother's Day Floral Arranging Workshop!
To our surprise (and excitement!) the event sold out! We were thrilled! We each did what we do best to prepare for the workshop. LeeLina got all the florals picked out, and I handled all the little details, like a custom sign for the event!
Check out this fun Mother's Day Floral Arranging Workshop!
And the mimosa bar (with custom straws for each person). 
Check out this fun Mother's Day Floral Arranging Workshop!
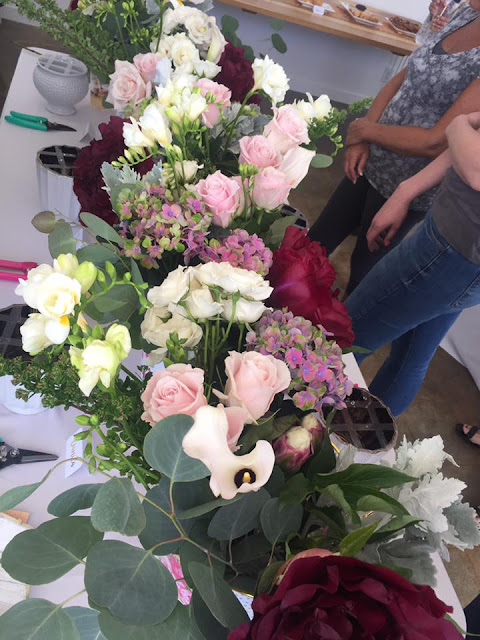
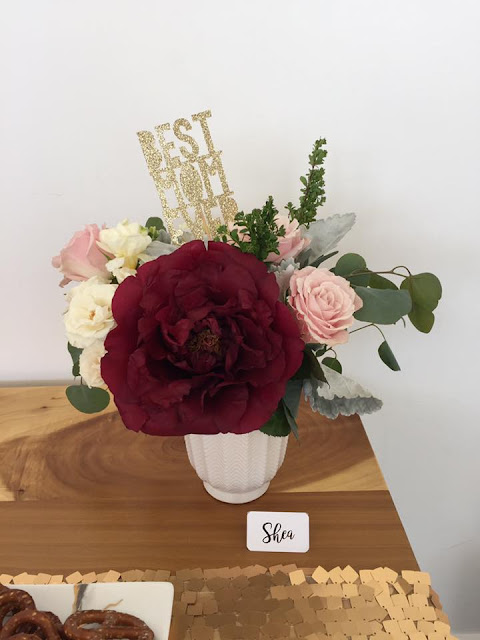
The florals that LeeLina brought were just to DIE for. The colors, the textures, everything was flawless!
Check out this fun Mother's Day Floral Arranging Workshop!
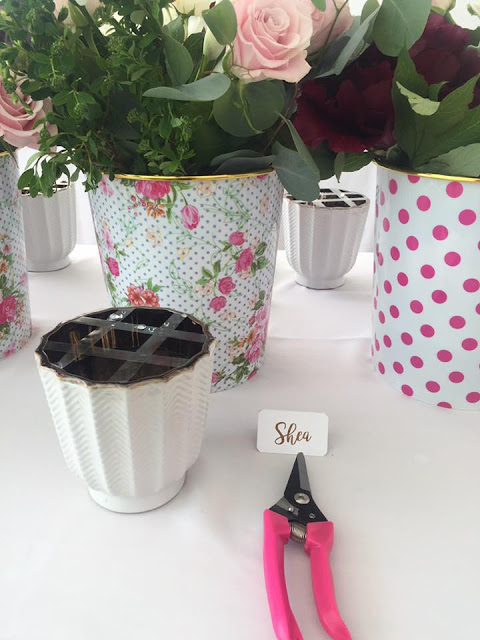
Each guest even received their own set of clippers!
Check out this fun Mother's Day Floral Arranging Workshop!
Everyone had so much fun with it!
Check out this fun Mother's Day Floral Arranging Workshop!

Check out this fun Mother's Day Floral Arranging Workshop!

Check out this fun Mother's Day Floral Arranging Workshop!
 Even though everyone used the same flowers, everyone's arrangements ended up so unique!
Check out this fun Mother's Day Floral Arranging Workshop!

Check out this fun Mother's Day Floral Arranging Workshop!

Check out this fun Mother's Day Floral Arranging Workshop!
I couldn't have asked for a better group of girls to be at my first workshop. 
Check out this fun Mother's Day Floral Arranging Workshop!

Check out this fun Mother's Day Floral Arranging Workshop!
 And most importantly, I couldn't have asked for a better instructor! I could seriously sit and brag about LeeLina all day, but don't worry, I won't. Not only is she a dream to work with, she is absolutely beautiful both inside and out. I can't wait to host another workshop with her!
Check out this fun Mother's Day Floral Arranging Workshop!
If you'd like to be added to the mailing list for future workshops, e-mail me at 
notsoclishea(at)gmail(dot)com 

Wednesday, October 4, 2017

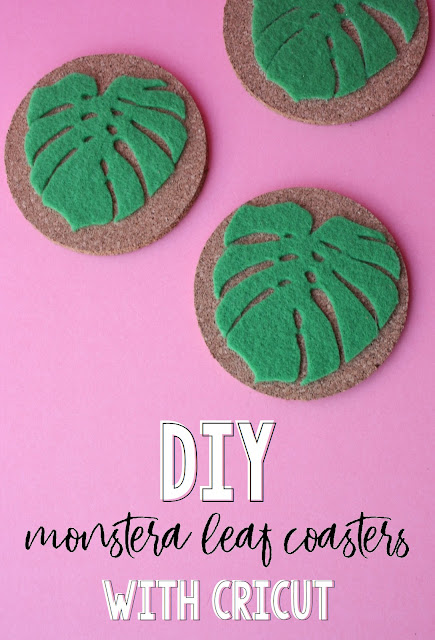
Monstera Leaf Coasters with Cricut!

*This post contains affiliate links*
I know that fall is officially here but, in Southern California, it still feels very much like summer and I'm trying to grasp onto those last rays of sunshine. Today's project is inspired by summer vibes.
Create these fun Monstera leaf coasters with the all new Cricut Maker!
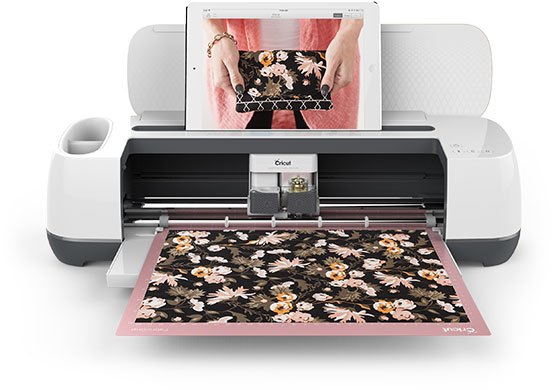
I'm sure you've heard by now about Cricut's latest and greatest machine, the Cricut Maker
Introducing the new Cricut Maker!
And if you haven't... WHERE HAVE YOU BEEN?! It's only the greatest crafting tool to hit the scene since... well the Cricut Explore series! It is able to do everything that the Explore series can do AND MORE! All thanks to this little baby... the rotary blade. 
The revolutionary new Cricut Maker Rotary Blade!
Thanks to the rotary blade you are now able to cut fabric without a backer and even cut crepe paper! This little bad boy is a game changer! I wanted to test it out for this project so I decided to try something with felt.

Supplies

Create fun Monstera leaf coasters out of felt with the all new Cricut Maker!
So, even though the Maker does cut felt (amazingly so by the way), I found that Amber from Damask Love has the best tip for cutting felt. Go check out this video (at about the 7:30 mark) and she explains how to use transfer tape while cutting felt to preserve your mat! 

For this project, you can really use any image you'd like, I've just been crushing on Monstera leafs, so I decided to us this one. I measured my coasters and made sure my leaf shape would fit on them. My favorite way to do this is by adding a "mock up" of the item I'll be working on to my Design Space project... like this.
Create fun Monstera leaf coasters with the all new Cricut Maker!
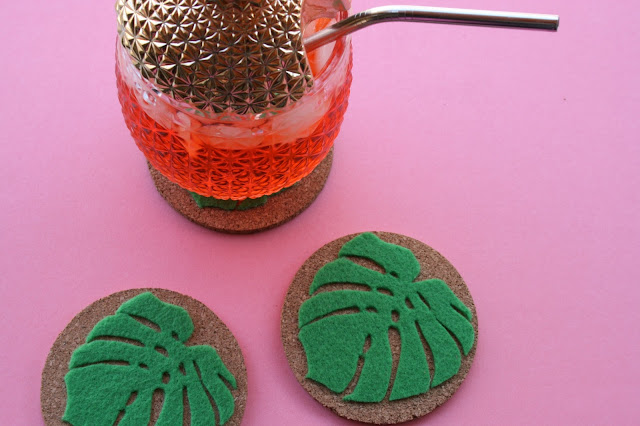
Adding the circle that is the same size as my coaster, I'm able to size the Monstera leaf to perfectly fit, then I use the hide tool for the circle and then I hit go! I'll be honest, I held my breath as the machine worked because I had no idea what was going to happen, and how the felt was going to cut, but it worked! Once they were cut, I added some spray adhesive to the leafs, placed them on the coasters, and voila!
Create these fun Monstera leaf coasters with the all new Cricut Maker!
The perfect coasters for any plant lady (or in my case, aspiring plant lady haha). 
Create these fun Monstera leaf coasters with the all new Cricut Maker!

Create these fun Monstera leaf coasters with the all new Cricut Maker!

Create these fun Monstera leaf coasters with the all new Cricut Maker!

Create these fun Monstera leaf coasters with the all new Cricut Maker!
This is a sponsored conversation written by me on behalf of Cricut . The opinions and text are all mine.

Related Posts Plugin for WordPress, Blogger...